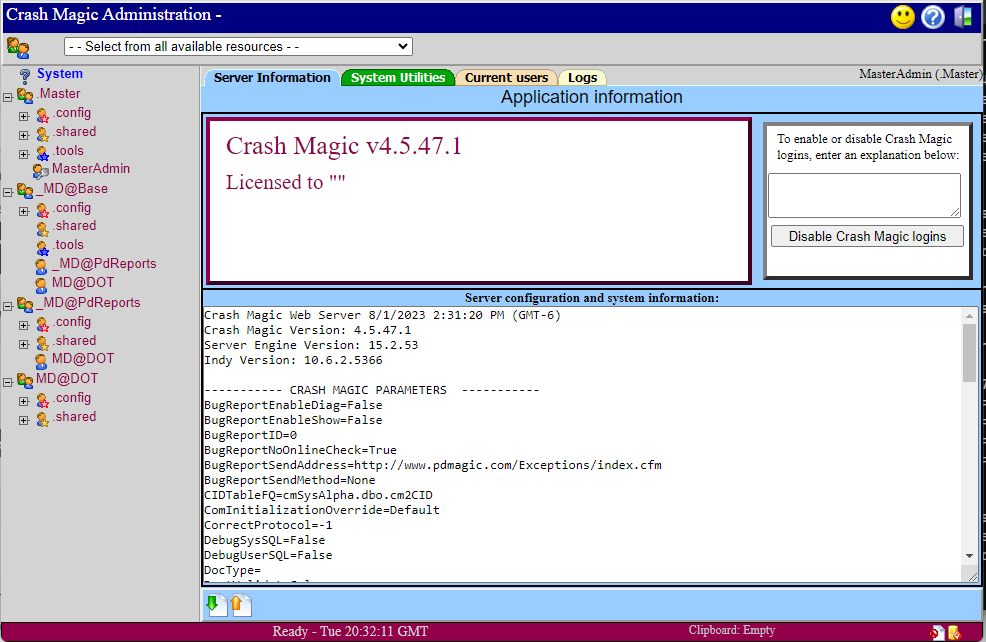
Start by verifying access to the login page. The project manager should be able to provide the URL.
Because this is a brand new installation, with no configuration installed, the logo area will be empty or will contain the Pd' Magic logo. There will also be no user groups available. The Master Admin login, created in the previous step, must be used to import the provided user groups containing the client-specific configuration data.
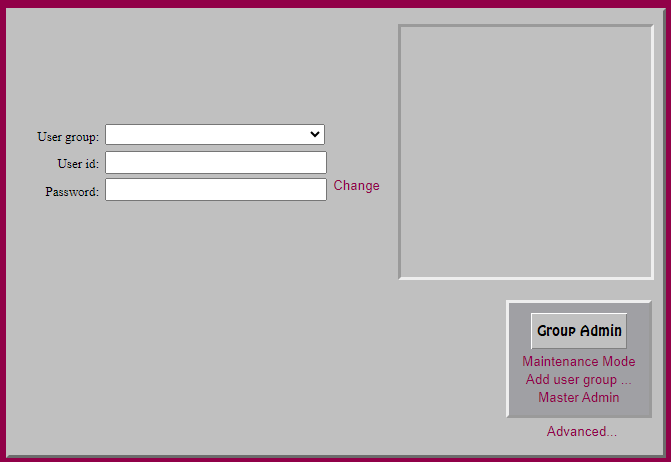
1.Enter the Master Admin login and password.
2.Select the "Advanced..." link
3.Select the "Master Admin" link
Important. Clients should only utilize the Master Admin login once and only during this initial installation phase. After the configuration files have been imported, the Master Admin password should not be utilized again without guidance from Pd' Programming. Pd' Programming can not be responsible for problems resulting from Master Admin access after the initial installation.
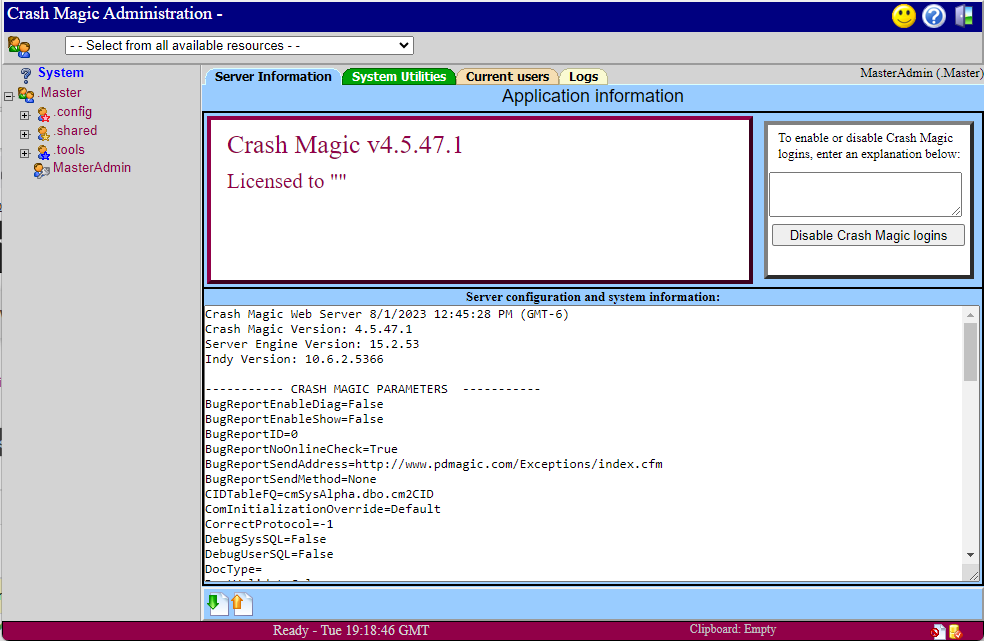
Crash Magic configurations are stored as user groups. Upon login, there will be only a single user group. The .Master user group will be shown on the left side of the screen. It contains resources that are common to all Crash Magic configurations.
Depending on the structure of your configuration, there will be one or more configuration groups to import. There will always be a "ConfigUser" and "SharedUser" for your agency. The user group name will be <State>@<Agency> such as "CO@DOT" or "CO@Boulder". In addition, there may be several "shared" groups. Shared groups are prefixed with an underscore "_" such as "_CO@BaseConfig".
For each of the provided XML configuration files:
1.Choose the orange import wizard button at the bottom of the screen.
2.Select "Upload a file" and choose the XML file. Click the "Next" button.
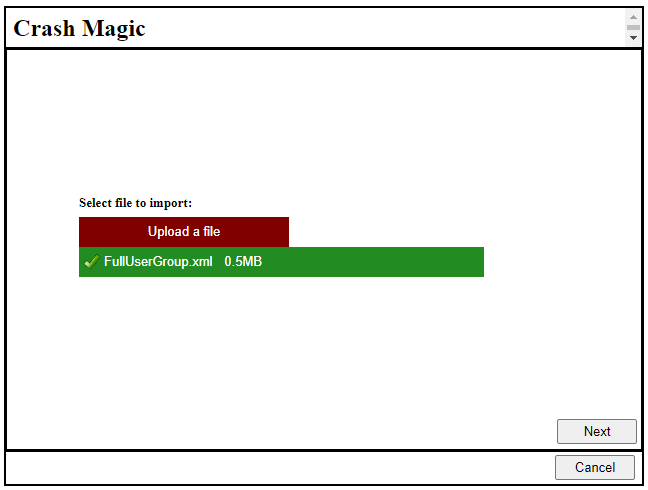
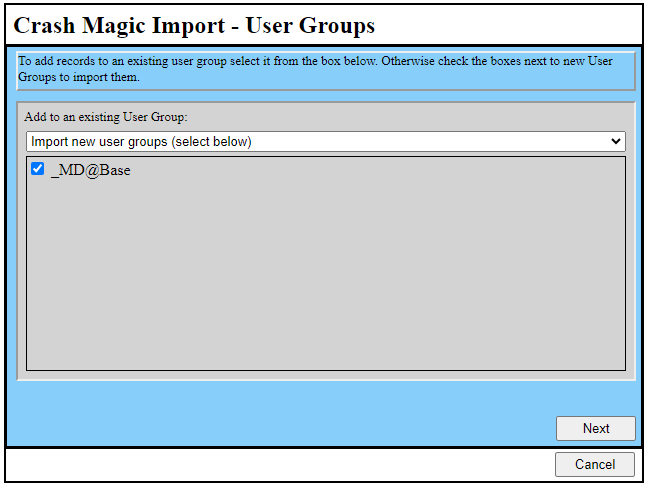
3.Select the default "user group" to import and select "Next".
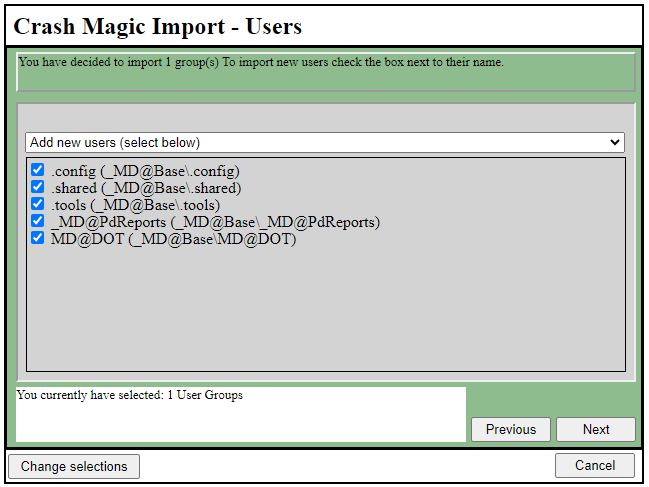
4.Select the desired "users". Usually this will include a ".config", ".shared", ".tools" and any references to other user groups that should have access to this one. Generally, select all of the listed users. Select "Next".
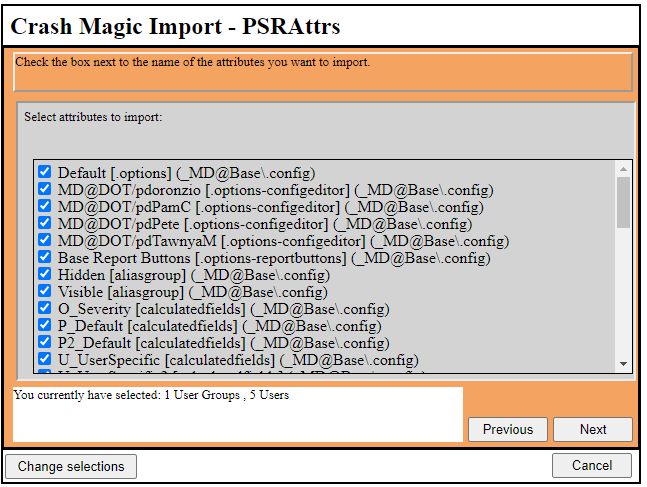
5.The next screen lists all of the available resources (PSRattrs) in the specified group/user. Again, select all of them and click "Next".
6.Select "Next" on the next three screens that should be empty. (Projects, Studies and Reports)
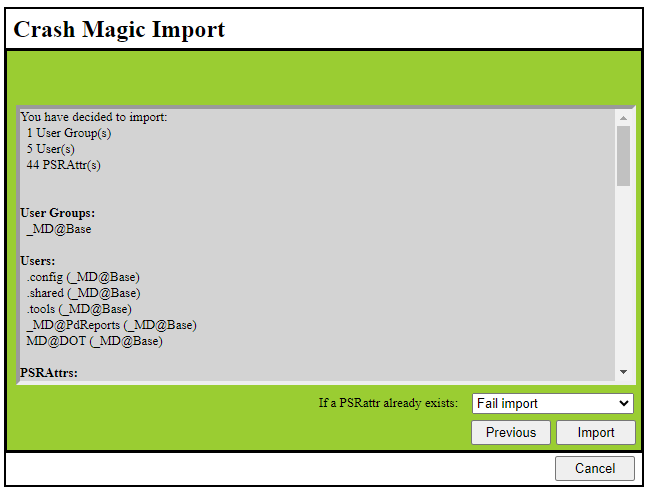
7.The final screen summarizes your selections. Simply select "Import". When the process is complete, select "Done" to close the screen and return to the administration screen.
8.Repeat this process for each of the provided XML configuration files.
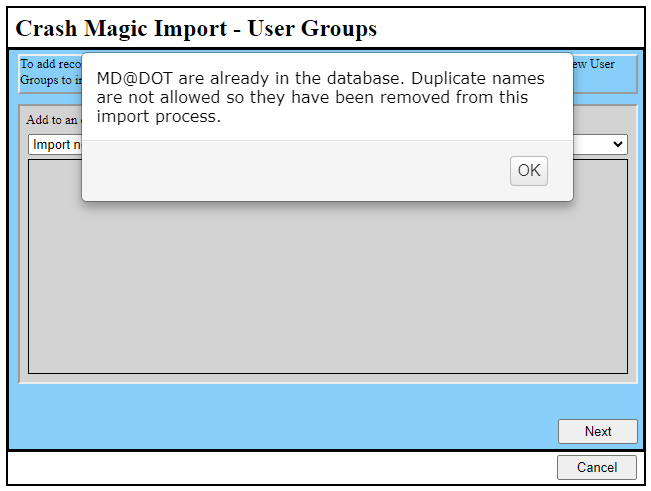
Note: Some of the XML files that you import will contain all of the users for the group. Others will just contain a single user. In the latter case, you will be informed that the user group is already in the database. It will not import that group again and will instead present a message indicating that you must select a group to install into. Simply select the appropriate group and continue the import process as usual.
9.Once the imports are complete, you will be returned to the administration form.
